


How to Prepare Your Bike for Winter Storage (FREE Checklist Included)

Have you prepared your bike for winter storage yet?
If not, give your bike that extra love and tuck it in for a winter nap! You'll be thankful yourself for that in the spring.
Use holidays for something good – scaring the dirt off your bike and preparing your ride for winter storage after a busy summer out on the saddle.
There are several important aspects you need to keep in mind when putting your bike up for winter so that it's ready to ride when warmer weather arrives.
Follow our step-by-step guide for proper winter bike storing, and you'll have nothing to worry about come next cycling season:
1. Inflate the tires
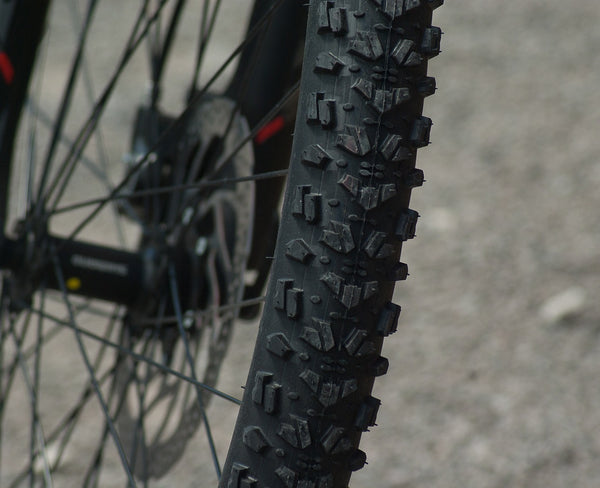
Are you planning to store your bike resting on its tires as opposed to having it suspended from the ceiling? Then this part is especially important.
If your tires are flat, the weight of the bike presses down through the rims on the rubber. This is likely to deteriorate your tires over time - the rubber can become distorted or develop a weak spot in the side wall.
So make sure to inflate your tires and check them periodically as they may lose pressure over the long winter months. Keep in mind that if they deflate in cold conditions, the sidewalls of the tires are likely to crack when you pump them back up in the spring.
Pro tip: the proper air pressure for your tires can be found printed on the sidewall of the tire. In most cases, it should be reported as PSI (pounds per square inch) or kPA (the metric unit for measuring pressure).
2. Give your bike a proper clean
Remember when you bought your brand new bike? It was shiny and sweet like candy, and squeaky clean...sure, that was a while ago and not true anymore. Bikes get dirty. Obviously!
But it's still possible to see your bicycle almost in the same light as when you first met. All it takes is thorough cleaning. So before you put your bike away for winter, wipe everything down, including the frame, tires, handgrips, saddle, and remember to clean the chain, too.
Here's what you'll need:
- A bucket of warm water
- Bike cleaner (or a mean dishwashing liquid) and lube
- Degreaser
- A sponge and some rags
-
Bike cleaning brushes
How to do it:
- Apply the cleaner or that mean dishwashing liquid onto the frame and get to work with a sponge and warm water to remove the dirt.
- Dip a chain brush in degreaser and scrub the gear cassette, jockey wheels, chainrings and chain. Then rinse everything off with water.
- Now you can flip your bike wheels up if you like – the messiest part is done. Next step – brush the braking area of the rims well. Make sure no bike cleaner stays behind on the rims.
- Rinse the bike with clean water and wipe it down with a sponge or a rag.
- Dry your bike off straight away with a dry rag.
Pro tip: don't use a pressure washer as it can force water where it shouldn't go and damage the components of your bike.
3. Inspect your bike for damage

Now that you're bike's all clean, it's the perfect chance to inspect it for damage. The more cycling you've done, the higher the possibility there might be technical issues with some of the bike parts.
So start by checking your bicycle for overall soundness. Then move on to taking a closer look at the frame. Search for any signs of cracks or metal fatigue, especially around weld spots and on the bottom bracket. This part of your bike supports a lot of weight and, depending on the type of riding you do, can be subject to great stress.
Next, move on to inspecting the wheels, tires, as well as brake pads. Keep an eye out for loose or broken spokes on the wheels. Spin them to see if the wheels turn straight, with no sharp veering from side to side. As to the brake pads, make sure they're aligned properly and with no excessive wear.
Pro tip: if you want to check your bike for more serious damage, take your bicycle to a professional tune-up before winter. That way, you'll also avoid the long queues, since bike shops will definitely be busy in the springtime.
4. Lubricate the cables and the chain
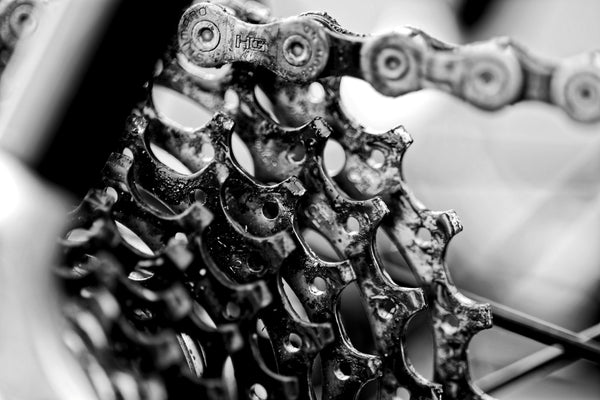
Lubrication is not a choice, it's a must. Lubricating the bike prevents corrosion, as well as protects moving parts from excessive wear and is crucial for good bike performance in the long run.
Spend a couple of minutes to lubricate the cables that control your brakes and shifting. That way, you'll avoid them popping when you take the bike out in the spring. Then lubricate the chain, too, to prevent rust.
To keep your bike parts properly lubricated, use a few drops of lubricant in a rag and rub the bike parts. When picking a lubricant, keep in mind that a light bike lubricant is preferred. Oil that is too thick will attract lots of dirt. On the other hand, oil that is too thin will dissipate quickly and won't hold.
Pro tip: don't over-lubricate, as that can lead to poor performance and damage bike components.
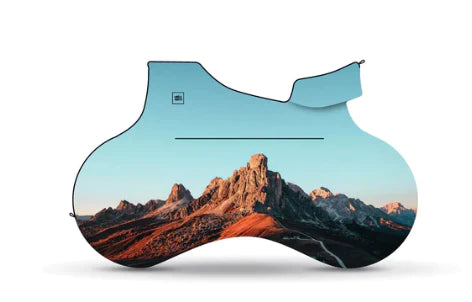
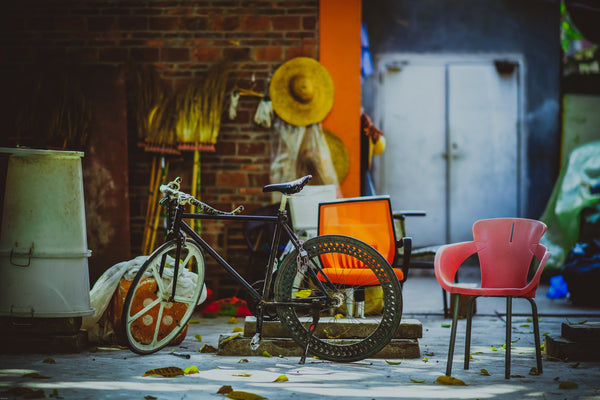
5. Cover your bike

Now, it's time to say your final goodbyes and cover your trusty ol' friend up. It might seem like your apartment is absolutely safe or that nothing can harm your bike in the garage. However, it's beneficial to cover the bike to avoid small particles of dust that may compromise any moving parts.
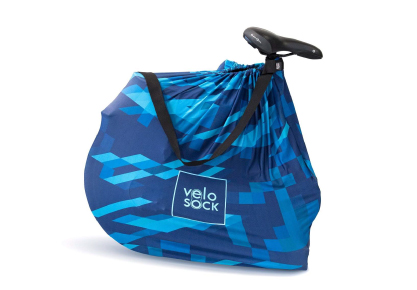
VELOSOCK indoor bicycle covers are a great choice for storing the bike in your living space as they provide a dash of bright color and design for the interior junkies. If you want nothing left uncovered, pick the full bike cover to securely store your ride in the garage where there's usually more dust and dirt. Both types of bike covers can be used with wall racks, too.
Pro tip: VELOSOCK bike covers are a convenient choice for transporting your ride in the car, too. Put a VELOSOCK on when placing the bicycle in the car trunk to protect it from dirt, sand, and salt when first outdoor training of the new season starts.
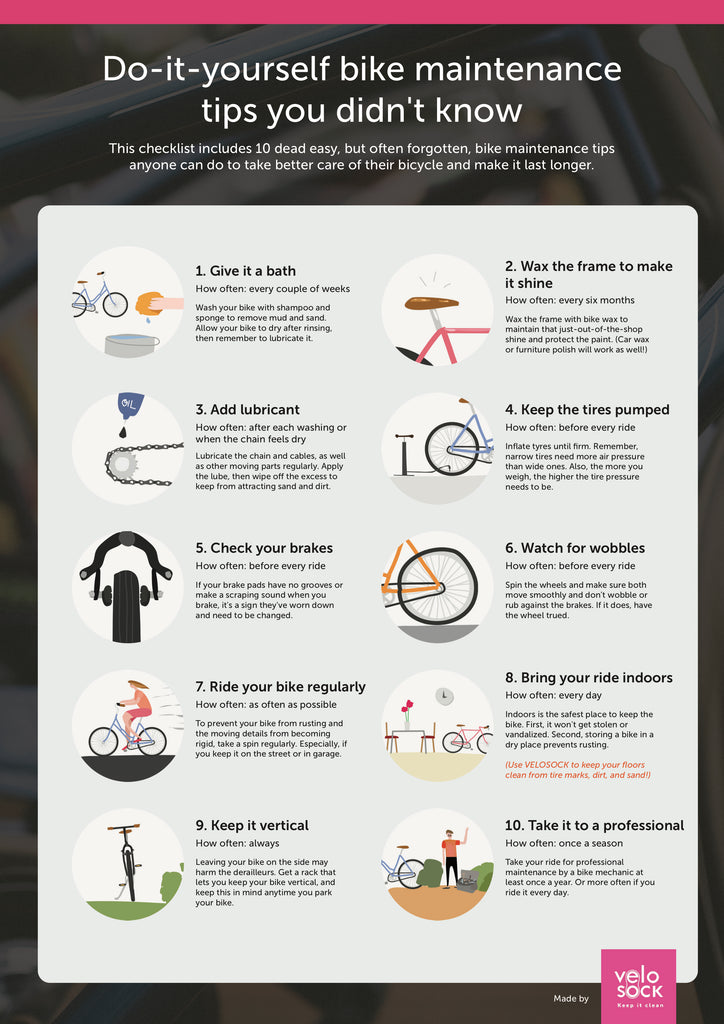
Also, use this do-it-yourself bike maintenance checklist to take better care of your bicycle and make it last longer:
While preparing your bike for long-term storage might seem like a lot of messy work at first, you and your bike both will be better for it. And now when that's done, time to step out for last minute trick-or-treating. You've earned it, and we won't tell anyone.
If you have any additional tips and tricks for winter storage, let us know in the comments below!
Post by Kristine Spure. Kristine is a writer and TV producer who enjoys exploring topics such as lifestyle, productivity, and robotics.


Leave a comment